When you decide to sew a custom hacky sack, you’ll first gather materials like strong polyester thread, fabric, and some filling such as rice or beans. Cutting the fabric into the right shapes is vital, and you’ll want to guarantee each piece measures perfectly for a snug fit. With your needle prepared, you’ll stitch the pieces together, leaving just enough room for filling. But how do you guarantee the hacky sack is both durable and functional? There’s a particular technique to reinforce the seams that can make all the difference. Let’s explore this essential step further.
Key Takeaways
- Gather materials: fabric, sewing needle, thread, scissors, and filling like rice or beans.
- Cut fabric into 3 1/2 by 1 1/4-inch egg-shaped strips.
- Sew fabric with small stitches, leaving openings for filling.
- Use a funnel to fill, ensuring even distribution and desired weight.
- Securely stitch and inspect seams for durability and tightness.
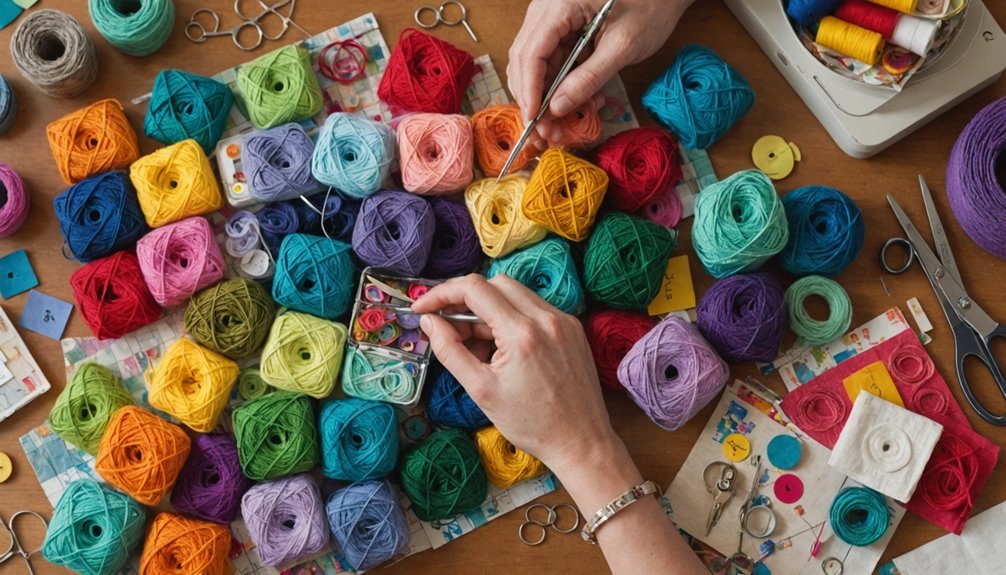
Gather Necessary Materials
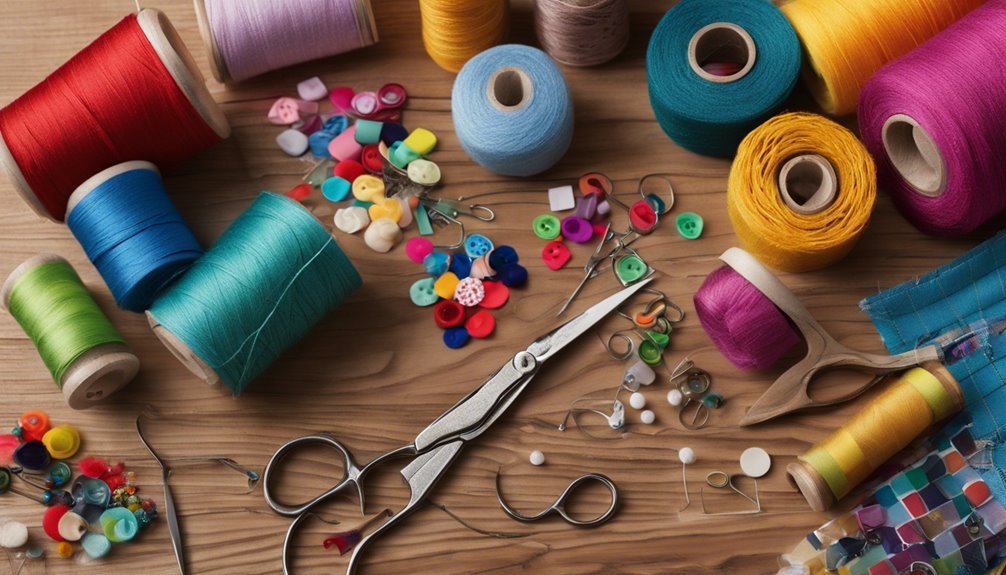
To kick off your hacky sack project, gather the essential materials you’ll need. Start with a sewing needle and strong thread, preferably polyester, to guarantee your hacky sack holds together through countless kicks and tosses.
Scissors are vital for cutting your chosen fabric, which could be leather, vinyl, or felt. Each fabric type offers different durability and style, so pick one that matches your vision and skill level.
You’ll also need filling materials to give your hacky sack the right weight and bounce. Common choices include rice, dried beans, or sand. These materials affect how your hacky sack performs, so consider your preferences for heft and texture.
A funnel will be incredibly useful when it’s time to fill the sack, helping you avoid spills and messes.
Have patience and a keen eye for detail as you prepare. If you want to add a unique touch, think about incorporating additional decorative materials or layers for enhanced style and durability.
Your preparation now lays the foundation for a well-crafted, custom hacky sack that reflects your style and creativity in every kick.
Cut Fabric Strips
Start by measuring and marking your fabric accurately to guarantee your hacky sack’s shape and size are consistent.
Use sharp scissors to cut two slightly egg-shaped strips, each 3 1/2 inches long and 1 1/4 inches wide at the widest point.
Precision is key, so take your time to make smooth cuts that will prevent fraying.
Measure and Mark Fabric
When preparing to sew your hacky sack, some find it helpful to begin by accurately measuring and marking your fabric strips. Start by measuring two strips of fabric. Each one should be 3 1/2 inches long and 1 1/4 inches wide at the widest point. To achieve the right shape, verify the strips are slightly egg-shaped. Using a ruler or measuring tape, mark these dimensions clearly on your fabric. Precision is key, so take your time to get it right.
Consider using a fabric marker to outline the strips on the material. This will help you visualize the cuts before making them. Here’s a quick reference table to guide you:
| Dimension | Length (inches) | Width (inches) |
|---|---|---|
| Strip 1 | 3 1/2 | 1 1/4 |
| Strip 2 | 3 1/2 | 1 1/4 |
| Shape | Slightly egg-shaped |
Before cutting, double-check your measurements and markings. Using sharp scissors will ensure a clean edge, preventing fraying and making sewing easier later. Accuracy here sets the foundation for a well-balanced hacky sack, so don’t rush this step.
Shape and Size Accuracy
After carefully measuring and marking your fabric, it’s time to cut out the strips for your hacky sack. Confirming shape and size accuracy is essential for a well-balanced hacky sack.
Begin by cutting two fabric strips, each measuring 3 1/2 inches long. Make sure they’re slightly egg-shaped, with a width of 1 1/4 inches at their widest point. This specific shape helps maintain balance during play.
Use a ruler for precise measurements, and consider a fabric pen to mark your cutting lines. This will improve visibility and confirm that your hacky sack’s shape and size remain consistent.
Here are three steps to guide you:
- Round the Corners: Carefully cut the fabric’s corners to be rounded. This rounding aids in achieving a balanced shape when the hacky sack is in use.
- Double-Check Measurements: Before making any cuts, verify your measurements to avoid irregularities that could affect performance.
- Cut with Precision: Use sharp scissors to follow the marked lines closely. Precise cutting is key to maintaining the desired shape and size.
Prepare Your Needle
To prepare your needle, start by threading it with a length of thread, and folding it in half to create a loop.
Next, tie a secure knot at the end of the thread to keep it from slipping through the fabric.
Make sure to choose a needle that suits your material and is sharp enough to sew without causing damage.
Threading the Needle
Before you begin sewing your hacky sack, it’s essential to verify your needle is properly prepared. Threading the needle correctly guarantees smooth, hassle-free sewing. Start by cutting a length of thread about three times the width of your hacky sack. This length gives you sufficient thread to work with and adds strength to your stitches.
Follow these steps to get your needle ready:
- Double the Thread: Fold the cut thread in half and thread both ends through the eye of the needle. This method, known as double threading, increases the thread’s durability and reduces the risk of breakage.
- Pull Through and Check for Tangles: Once threaded, gently pull the thread through the needle’s eye, confirming there are no tangles. The smooth, untangled thread will make sewing much easier and prevent frustrating snags.
- Apply Wax or Conditioner: Use a small amount of wax or thread conditioner along the length of the thread. This step helps reduce fraying and enhances the thread’s smoothness, making it glide through the fabric effortlessly.
Tying a Knot
Once you’ve threaded your needle, securing the thread with a knot is vital to prevent it from slipping through the fabric as you sew your hacky sack. First, double the thread to enhance strength and durability, especially significant for the wear and tear of a hacky sack.
To start tying a knot, hold the two thread ends together and wrap them around your index finger. Slide the loop down your finger, then pull the ends through to create a simple knot.
Make sure the knot is tight and positioned at the very end of the thread. This step is essential because a loose knot might slip through the fabric, causing you to redo your work.
If you’re using thicker materials like leather or vinyl, make sure your needle is compatible, as a larger needle will help you pierce through tougher layers more efficiently.
Having the right length of thread is equally important. Aim for a thread length about three times the length of the seam you’re sewing. This prevents frequent re-threading and guarantees a smoother sewing process.
If you’re unsure about tying a knot, consult visual instructions or diagrams for clarity.
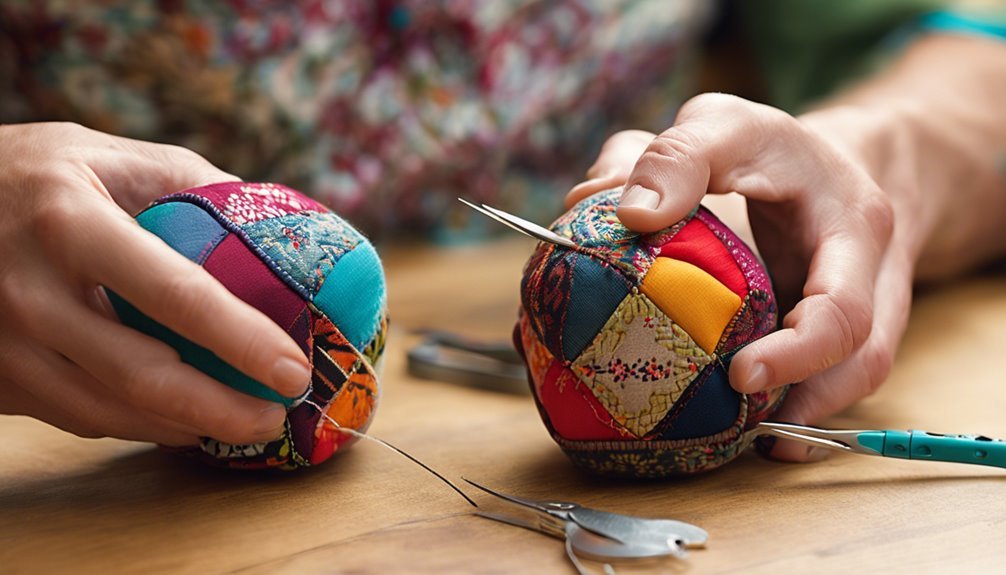
Stitch Fabric Pieces
Sewing the fabric pieces together is the next significant step in crafting your hacky sack. To start, sew one strip to another with the nice side facing inward. This guarantees the outside looks clean and professional when finished. Stitch close to the edge to maintain the fabric’s integrity, and use small stitch spacing. This helps prevent any filling from leaking out once the hacky sack is complete.
While sewing, it’s important to tie off the thread securely when needed. Consistency in your sewing technique is vital for an even and durable finish. Follow these steps for success:
- Begin Sewing: Sew one strip to the next with the nice side inward. Use small, even stitches close to the edge.
- Continue the Process: As you add each strip, tie off securely and consistently. Check each seam for any gaps.
- Finish the Seams: When sewing the last strip, leave openings at the top and bottom. Turn the sack inside out for a polished look.
Finally, double-check all seams for any gaps and reinforce if necessary. This guarantees your hacky sack will withstand plenty of use without falling apart. Enjoy your handiwork!
Assemble the Hacky Sack
With your fabric pieces stitched together, it’s time to assemble your hacky sack. Start by making certain the nice sides of your egg-shaped fabric strips are still facing inward. This is vital for a clean, professional finish.
Next, carefully sew the strips together using small, precise stitches close to the edge. This technique will help keep your hacky sack’s filling secure inside, preventing any dried beans from spilling out during use.
Leave small openings at both the top and bottom of your stitched fabric. These gaps will be important for the next step, allowing you to fill the sack.
Once your sewing is complete, gently turn the hacky sack inside out. This reveals the nice side of the fabric, providing a neat appearance.
After turning it inside out, double-check your seams to make certain they’re tight and free of gaps. This inspection is necessary to maintain the integrity of your hacky sack.
Now, you’re ready to move on to filling it. Remember that the amount of filling will determine the weight and feel of your hacky sack, so consider your preferences carefully as you proceed to the next steps.
Fill With Rice or Beans
Standing ready with your hacky sack shell, it’s time to fill it with your chosen material. Gather a funnel and decide whether rice or beans will be your filler. Both options offer unique benefits: rice provides a lighter touch, while beans give a bit more heft. Here’s how to proceed:
- Use a Funnel: Place the funnel into the opening of the hacky sack shell. This guarantees a clean, mess-free process, allowing you to fill the Hacky without spillage.
- Adjust the Filling: As you add the rice or beans, think about how much you’d like to fill the Hacky. A fuller sack offers a harder rebound, perfect for skilled control, while a looser sack is easier to catch and manipulate.
- Consider Alternatives: Apart from rice or beans, explore other fillers like dried beans or plastic pellets. These alternatives can affect the weight and control, tailoring the hacky sack to your playing style.
Once filled to your satisfaction, hold off on sewing the top shut just yet. Take a moment to inspect your work, confirming there are no leaks or weak spots in the filling. This attention to detail will enhance your playing experience.
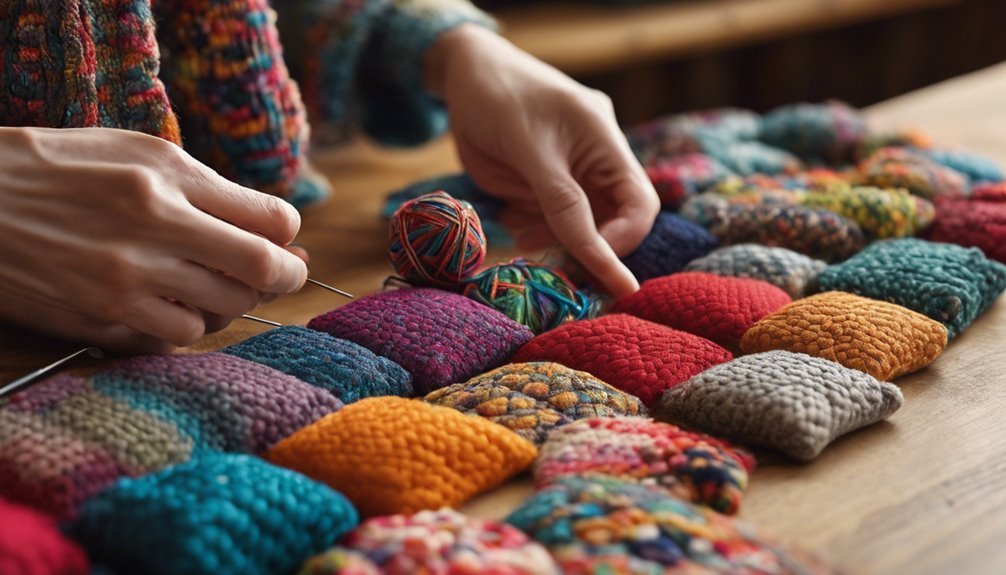
Finalize and Secure Sack
Now that you’ve carefully chosen and filled your hacky sack, it’s time to fasten it. Begin by threading a tapestry needle with a long piece of yarn. Weave the last stitch tightly to guarantee there are no gaps for the filling to escape. As you pull the yarn through the final stitches, leave enough length to tie off securely.
Before you trim the yarn, double-check that all seams are tight and there are no loose threads. This prevents leakage and guarantees your hacky sack remains intact during play. Once satisfied, tie off the end string on both sides, pulling tightly to fasten the closure. Trim any excess yarn for a neat finish.
For added durability, reinforce the closure. Stitch through the same area multiple times or use a backstitch technique for extra security.
| Step | Action | Purpose |
|---|---|---|
| 1 | Weave the last stitch | Prevent filling escape |
| 2 | Double-check seams | Guarantee no leakage |
| 3 | Reinforce closure | Increase sack’s durability |
Following these steps will help you finalize and fasten your custom hacky sack, giving you a durable and reliable toy to enjoy.
Frequently Asked Questions
What Is the Best Filling for a Hacky Sack?
You’ll want to choose a filling that suits your play style. Rice offers balance, beans add weight, and plastic pellets provide control. Avoid materials like birdseed that might sprout inside. Pick what’s best for your hacky sack experience.
How to Make a Hacky Sack Out of Fabric?
You start by cutting two egg-shaped fabric strips, then sew them with nice sides inward. Once sewn, turn it inside out, fill it with rice, and securely close the opening for your custom hacky sack.
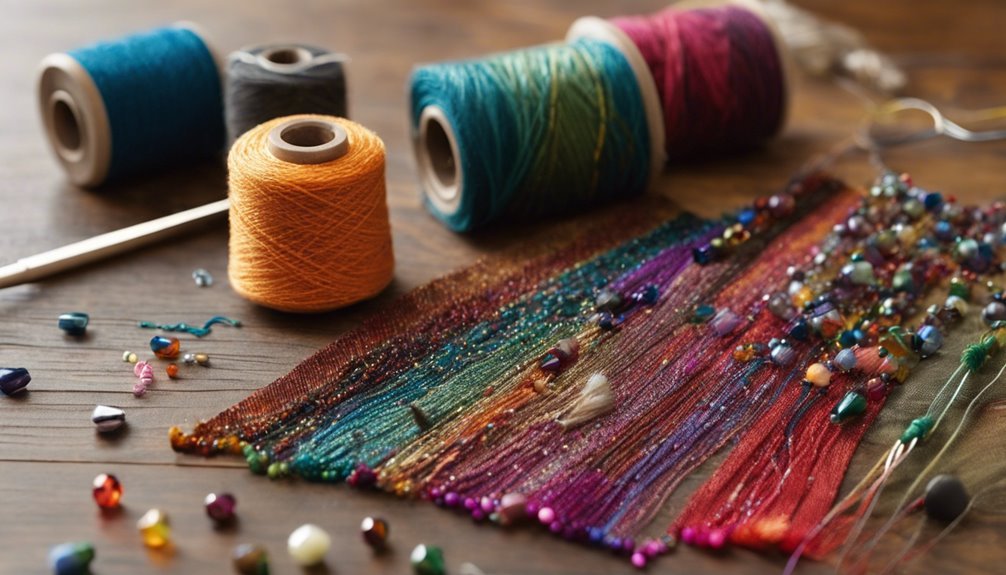
What Kind of Yarn Do You Use for a Hacky Sack?
You should choose the worsted weight yarn for its durability. Opt for synthetic fibers like acrylic to enhance longevity. Use a tighter stitch pattern, and consider dark colors to conceal dirt. A cotton blend adds softness.
How to Make a DIY Hacky Sack?
To make a DIY hacky sack, gather fabric, a needle, thread, and rice. Cut egg-shaped pieces, sew them with tight stitches, fill them with rice, and securely close the opening. Confirm everything’s tight to prevent leaks.
Conclusion
You’re almost there! With your hacky sack filled and the seams securely stitched, give it a final check to verify everything’s tight and durable. Make sure there are no loose threads and the filling is evenly distributed. Now, toss it in the air and test out your creation! You’ve crafted a fun, personalized hacky sack ready for play. Enjoy the satisfaction of knowing you made it from scratch, and get ready to show off your skills!
