Creating a hackysack from scratch is a rewarding project that starts with gathering a few essential materials: fabric, scissors, thread, a needle, and filling material. You’ll begin by cutting two fabric circles and a strip, then sewing these pieces together in a specific manner. But how can you guarantee the seams remain hidden and the filling doesn’t spill out during play? Mastering these techniques can elevate your hackysack from a simple toy to a durable, personalized piece. Let’s explore the detailed steps and tips that will guide you to crafting a perfect hackysack.
Key Takeaways
- Gather necessary materials: fabric, scissors, thread, needle, and filling.
- Cut fabric pieces: two 2.5-inch diameter circles and one 24-inch by 1-inch strip.
- Sew pieces together: align and stitch the strip to the circles, leaving a gap for filling.
- Turn inside out: carefully invert the hackysack to hide seams.
- Fill and seal: use a funnel to fill, distribute evenly, and securely close the opening.
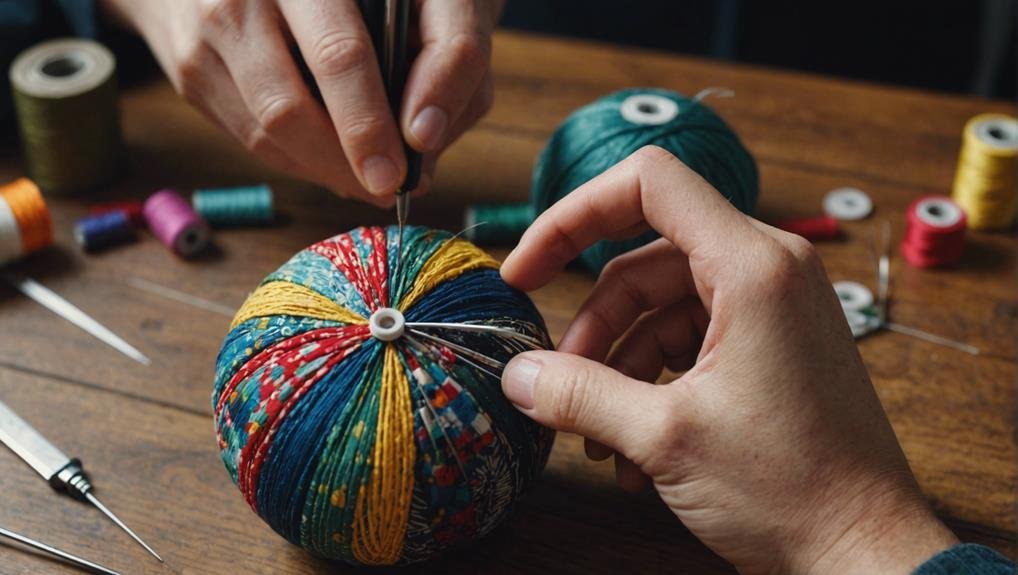
Gather Your Materials
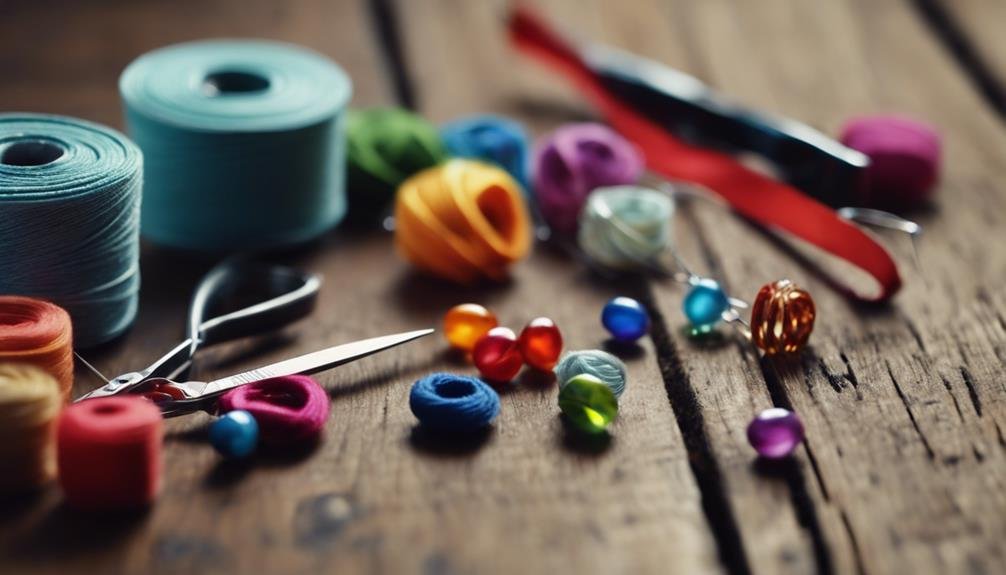
Before making your hacky sack, gather all the necessary materials—fabric, scissors, thread, a needle, and filling material like rice or beans. Having everything on hand will make the process smoother and more enjoyable.
First, select a sturdy yet flexible fabric. You’ll need enough to cut out two circles with a diameter of 2.5 inches and a long strip measuring 24 inches by 1 inch. Using scissors, carefully cut these pieces out. Precision at this stage guarantees your hacky sack will have a uniform shape and be easier to sew.
Next, thread your needle with a strong, durable thread. You’ll sew the fabric together, so make sure the thread matches or complements your fabric. Start by sewing the edges of the two circles together, but leave a small gap. This gap will be used to fill the hacky sack later.
Once your pieces are sewn together, turn the hacky sack inside out to hide the seams. This also makes it easier to fill.
Cut the Fabric Pieces
Start by cutting two circles from your chosen fabric, each 2.5 inches in diameter. These circles will serve as the top and bottom of your hacky sack. Use a ruler and a fabric marker to guarantee accuracy. Place the fabric on a flat surface and trace two circles using the 2.5-inch diameter template. Carefully cut out these fabric pieces, ensuring the edges are smooth and even.
Next, cut a long strip of fabric measuring 24 inches in length and 1 inch in width. This strip will connect the two circles and form the side of your hacky sack. Again, use your ruler and fabric marker to mark out the dimensions of your fabric. Precision is vital here, as any deviation can affect your hacky sack’s final shape and balance. Carefully cut along your marked lines to get a clean, straight strip.
Ensuring that you accurately cut these fabric pieces is essential. The circles need to be symmetrical, and the strip needs to be the right length to fit perfectly around the circles. Following these measurements will help you create a well-constructed and balanced hacky sack.
Sew the Fabric Together
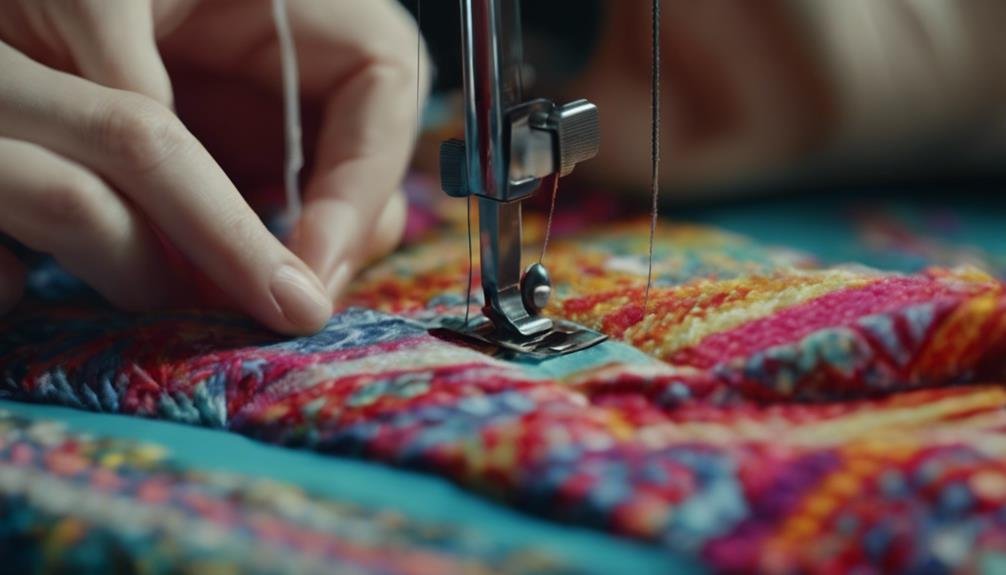
Begin sewing by aligning one edge of the long fabric strip with the edge of one of the fabric circles. Make sure the edges are perfectly matched. Sew one to three stitches along the edge to secure the fabric in place. Continue sewing around the entire circumference of the circle, keeping your stitches close to the edge to guarantee the filling won’t escape.
Once you’ve gone all the way around, repeat this process with the second fabric circle, attaching it to the opposite edge of the long fabric strip. Again, sew one or three stitches to secure it, then sew around the entire circle. Make sure to leave a small gap in your stitching to allow room for filling the hacky sack later.
It’s essential that your stitching is tight and secure. Double-check your work to guarantee that there are no gaps or loose stitches that could let the filling spill out. Keeping your stitches neat and consistent will ensure that the hacky sack is durable and maintains its shape.
Once you’ve sewn both fabric circles to the strip, you can move on to the next step.
Turn Inside Out
Once you’ve finished sewing, carefully turn the hacky sack inside out to hide the seams and reveal a smooth exterior. This step is crucial to give your hacky sack a polished, professional look. By flipping the fabric, you’ll guarantee that all the seams are tucked neatly inside, leaving a seamless outer surface.
To begin, find the small opening you left when sewing. Gently push the fabric through this opening, taking care not to stress or damage the seams you’ve just created. It’s important to be patient during this process; rushing can lead to torn fabric or popped seams, compromising all your hard work.
Use your fingers to push out the corners and edges, ensuring every part of the hacky sack is fully turned inside out. You might need to use a blunt tool like a pencil or a knitting needle to help with this step, but be cautious not to poke through the fabric.
Once the hacky sack is fully turned inside, inspect it to ensure all the seams are hidden and the exterior looks smooth. Your hacky sack is now ready for the next step in the process.
Fill the Hackysack
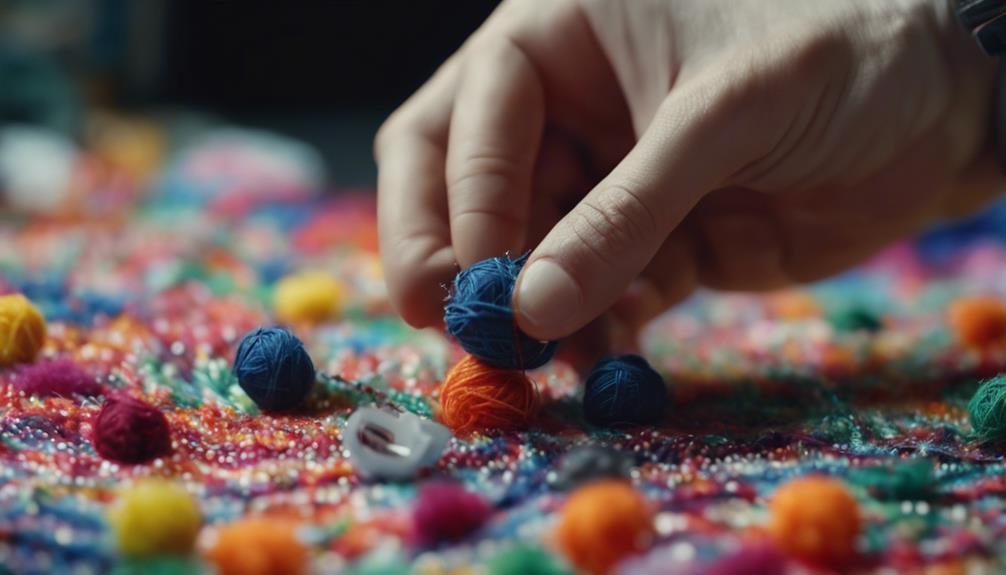
Fill your hackysack with materials like rice, lentils, beans, or pellets to give it weight and shape. These options offer different feels and weights, so choose one that suits your preference.
Here’s a brief guide to help you fill the hackysack effectively:
- Funnel for Ease: Use a funnel to pour the filling into the hackysack without making a mess. This makes the process smoother and faster.
- Adjust the Filling: You can control the weight and feel by adjusting the amount of filling. More filling makes the hackysack heavier and firmer, while less filling makes it lighter and more flexible.
- Even Distribution: Ensure the filling is evenly distributed. This balance is vital for consistent performance when using the hackysack.
- Secure the Hackysack: Once filled, seal the opening securely to prevent any leaks. Double-check that the closure is tight enough to withstand regular use.
Add Final Touches
Now that your hackysack is securely filled, it’s time to add some final touches to personalize and enhance its functionality. Begin by considering decorative stitches or embroidery. These not only add a personal flair but can also reinforce the hackysack, making it more durable. Choose colors and patterns that resonate with you, and don’t hesitate to get creative.
Experiment with different types of fillings to find the perfect weight and texture. Whether you prefer plastic pellets, sand, or small beans, each type will give your hackysack a unique feel. If you’re indecisive, use a drawstring closure at the top of the hackysack. This allows for easy refilling or adjusting the filling as needed.
Attach a small loop or keychain ring to make your hackysack more portable. You can easily carry it or hang it on your bag.
Lastly, apply a clear sealant or fabric glue layer to reinforce the seams. This step is important to prevent the filling from leaking out during use, ensuring your hackysack remains intact and functional for longer.
With these final touches, your hackysack will be ready for play and personal expression.
Conclusion
Now that you’ve made your hackysack, it’s time to enjoy the fruits of your labor. You’ve gathered your materials, cut and sewn the fabric, turned it inside out, filled it, and added your personal touches. Your hackysack is ready for action!
Take it outside, show off your skills, and have fun. Remember, each hackysack you make is unique, just like you. Enjoy your handcrafted creation and the endless hours of play it brings!
FAQs
What type of fabric is best for making a hackysack?
Opt for sturdy yet flexible fabrics like cotton or canvas. These materials offer durability and ease of sewing, ensuring your hackysack withstands hours of play.
Can I use alternative filling materials besides rice or beans?
You can experiment with various fillings, such as plastic pellets, sand, or even small beads. Each option provides a different feel and weight to suit your preferences.
How can I ensure my hackysack lasts long without the filling spilling out?
Double-check the seams for tightness and consider reinforcing them with clear sealant or fabric glue. Also, securely seal the opening after filling to prevent leaks during play.
