You’ve sprained your thumb, and now you’re wondering how to regain mobility and reduce pain effectively. It’s essential to approach rehabilitation with the right exercises to guarantee a smooth recovery. You’ll work towards restoring flexibility while minimizing stiffness by engaging in thumb IP-joint and MP-joint flexion. But how do you know if you’re pushing too hard or not hard enough? It’s about finding that balance. Consistency is key, yet knowing when to rest is just as important. Are you curious about advanced techniques or how to prevent future injuries? Let’s explore the journey to a stronger, more resilient thumb.
Key Takeaways
- Gentle exercises like thumb IP-joint flexion help restore mobility by safely bending the thumb tip towards the palm.
- Thumb MP-joint flexion strengthens the base joint by bending the thumb downward in controlled repetitions.
- Finger-thumb opposition improves dexterity by sequentially touching the thumb to each fingertip.
- Pain monitoring using a scale from 1 to 10 ensures exercises are performed within a safe discomfort range.
- Regular rest days and gradual progression to advanced techniques prevent overuse and promote recovery.
Understanding Sprained Thumbs
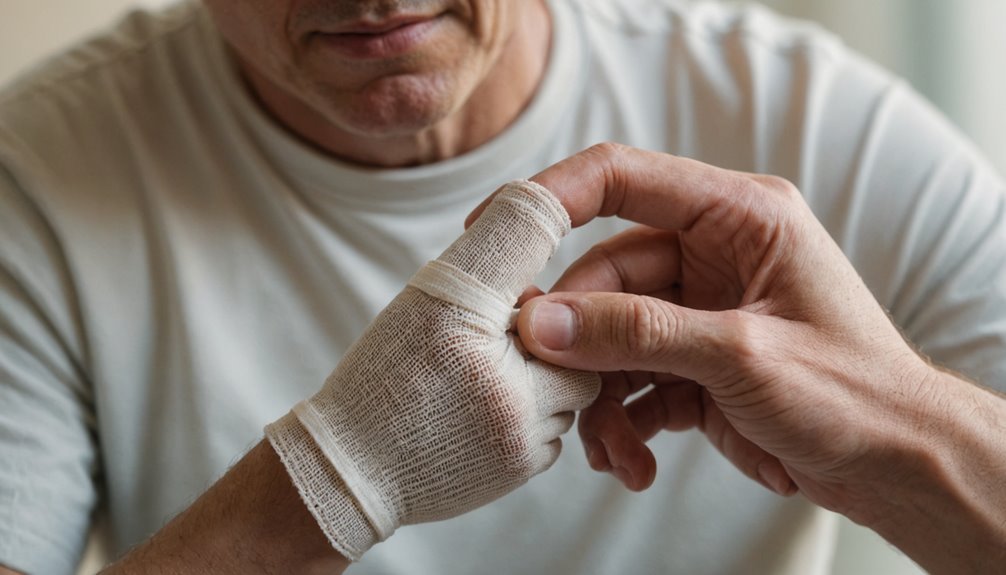
A sprained thumb, often known as a skier’s or gamekeeper’s thumb, happens when the ligaments in your thumb are stretched or torn, usually due to sudden force or awkward movements.
You might experience anything from mild swelling and pain to severe instability, making it hard to grasp objects. Understanding the nature of the sprain is vital if you’ve injured your thumb during a sports activity, a fall, or even while playing a musical instrument.
The severity of a sprained thumb can range from a Grade 1 sprain, where there’s mild discomfort, to a Grade 3 sprain, which may require surgery.
No matter the grade, early intervention is key to promoting healing and restoring your thumb’s range of motion. Rehabilitation exercises play an essential role in this process, gradually allowing you to regain mobility and strength.
Without appropriate care, your thumb might develop stiffness or chronic pain, making daily tasks challenging.
You can actively work towards a full recovery by focusing on rehabilitation exercises specifically designed for a sprained thumb.
Importance of Rehabilitation
Understanding the nature of a sprained thumb sets the stage for appreciating the importance of rehabilitation in the recovery process. You must focus on restoring your thumb’s range of motion and flexibility; rehabilitation plays a vital role in achieving these goals.
When you engage in targeted rehabilitation exercises, you promote flexibility and prevent stiffness, which can otherwise limit thumb movement. Strengthening the surrounding muscles through these exercises enhances stability and aids in regaining thumb functionality after a sprain.
Without proper rehabilitation, there’s a higher risk of developing chronic instability and future injuries. Consistent rehabilitation exercises increase blood flow, essential for tissue healing and reducing scar tissue formation. This process guarantees that your thumb heals properly and regains its strength.
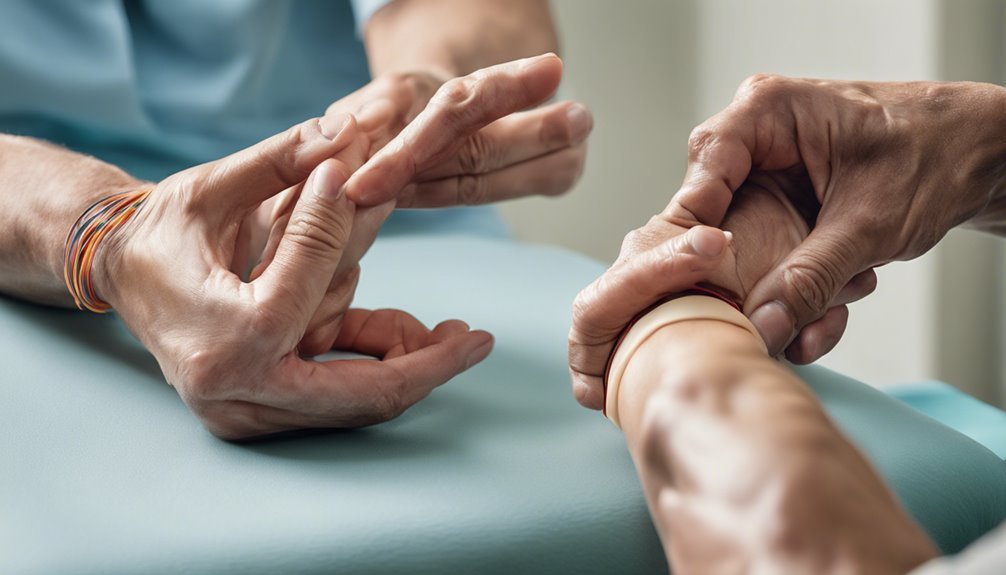
Consulting healthcare professionals during rehabilitation provides a tailored approach to your specific needs and injury severity. They can guide you through personalized rehabilitation exercises, ensuring you achieve ideal recovery.
How to Perform Exercises

When performing thumb exercises, position your forearm and hand on a stable surface like a table to avoid straining the joint.
Focus on gentle movements and correct form to prevent further injury, and continuously monitor your thumb for pain.
If you notice discomfort, pause the exercise and consult a healthcare professional to ensure you’re working safely toward recovery.
Proper Exercise Positioning
FAdoptingthe right exercise positioning is vital. For effective thumb rehabilitation, Proper positioning guarantees you perform thumb exercises correctly, minimizing pain and preventing further injury. Start by placing your forearm and hand on a flat surface like a table to maintain stability. This support is important for isolating the thumb joint and getting the most out of each exercise. SGently stabilize yourthumb withh your other hand by applying slight pressure below the joint. This prevents excessive strain and keeps the exercises safe and beneficial.
Remember to keep your wrist relaxed and avoid tensing your other fingers. This focus helps target the specific thumb joint you’re working on. As you become more comfortable, gradually increase the range of motion and repetitions. Always prioritize form and technique to guarantee your thumb heals effectively.
Here’s a quick reference guide for proper exercise positioning:
| Positioning Tips | Do’s | Don’ts |
|---|---|---|
| Flat Surface | Support forearm and hand | Use unstable surfaces |
| Thumb Stabilization | Apply gentle pressure below the joint | Exert too much force |
| Wrist Relaxation | Keep wrist relaxed | Tense other fingers |
| Gradual Increase | Slowly increase motion/repetitions | Rush through exercises |
| Focus on Technique | Prioritize form/technique | Sacrifice form for speed |
Gentle Movement Techniques
The key to thumb rehabilitation is to start with gentle movements. Begin each exercise slowly and carefully to avoid aggravating your injury.
Thumb stretches are a great way to encourage the healing process. Ensure your forearm and hand are stable on a flat surface, providing support for effective, gentle movement. This setup helps you maintain normal movement patterns while minimizing the risk of further injury.
Focus on executing each thumb stretch with proper form. KPrecise technique guaranteesthe maximum benefit from each exercise.
As your strength and flexibility improve, you can gradually increase the number of repetitions, aiming for 8 to 12 per exercise. This gradual approach helps your thumb adjust without overwhelming it.
Monitoring Pain Levels
As you progress with gentle movement techniques, monitoring your pain levels becomes just as important as the exercises themselves. Monitoring pain levels is key to guaranteeing your recovery is on the right track. To help restore your thumb’s mobility, aim for mild discomfort, not sharp pain, during workouts.
Use a pain scale from 1 to 10 to assess intensity before, during, and after each session. This tracking helps you spot any concerning patterns.
If you notice a significant increase in pain—like a leap of 2 points or more—halt the exercise immediately. This could be a sign of overexertion or incorrect technique. It’s wise to reassess your approach and consult a healthcare provider for guidance.
Only increase repetitions or resistance when your pain consistently exceeds three on the scale.
Incorporating rest days is just as essential. They allow your thumb to recover and prevent pushing through pain, which could delay healing.
If discomfort persists despite rest and careful monitoring, it might be time to seek advice from a healthcare provider to guarantee you’re on the best path to recovery.
Thumb IP-Joint Flexion
To properly perform thumb IP joint flexion, place your forearm and hand on a table with your thumb pointing upwards for the best alignment.
STo maintain control, stabilizethe thumb below the joint with your other hand then gently bend the tip towards your palm and straighten it back.
Repeat this exercise 8 to 12 times per session to boost flexibility and support your recovery.
Proper Exercise Positioning
For effective thumb IP-joint flexion exercises, ensure you’re positioned correctly by placing your forearm and hand on a table with your thumb pointing up. This setup is essential for proper exercise positioning, ensuring the thumb joint is aligned and stable. AAnchoring your thumb this way ssets the stage for restoring mobility through controlled movements.
Begin by stabilizing your thumb just below the joint with your other hand. This provides additional support and helps prevany unintended motions that could hinder your progress or cause discomfort.
Once stabilized, gently bend the tip of your thumb downwards, focusing on smooth, controlled movements. After bending, please straighten the thumb to return it to the starting position. This motion targets the thumb joint directly, promoting both strength and flexibility.
Perform this bending and straightening movement for 8 to 12 repetitions. Gradually increase the number of repetitions as you become more comfortable and your thumb gains strength.
Consistency is key here; Regularly practicing this exercise will greatly aid your recovery, helping to reduce pain and enhance thumb mobility over time. Remember, patience and persistence are essential as you work toward full recovery.
Technique and Form Focus
Mastering the technique and form of thumb IP-joint flexion is essential for effective rehabilitation. Focusing on isolated thumb IP-joint flexion guarantees that the correct muscles are targeted, enhancing flexibility and strength. Start by positioning your forearm and hand on a table with your thumb pointing upward. This setup stabilizes the joint, providing a strong foundation for the exercise.
To execute the move correctly, stabilize your thumb below the joint with your opposite hand. Bend the tip of your thumb downward, then straighten it back. This movement should be smooth and controlled, emphasizing proper form. Remember, starting slowly helps prevent pain and increases the exercise’s effectiveness.
Consistent practice of this exercise considerably aids recovery and rehabilitation after a thumb sprain. Aim for 8 to 12 repetitions to build strength and flexibility gradually. Here’s a helpful table to guide you:
| Step | Action | Focus |
|---|---|---|
| Positioning | Forearm and hand on the table, thumb up | Stabilization |
| Stabilization | Thumb supported below joint with the opposite hand | Proper form |
| Movement | Bend and straighten thumb tip | Flexibility and strength |
| Repetition | 8 to 12 times | Rehabilitation benefit |
Repetition Guidelines
Consistency is your best ally when it comes to repetition guidelines for thumb IP-joint flexion. Regular exercise is essential for recovering from thumb sprains and regaining mobility.
First, position your forearm and hand on a table, ensuring your thumb points upward. This setup provides optimal stability. Use your other hand to stabilize your thumb just below the joint. Gently bend the tip of your thumb downwards, then return it to its straight position.
Aim for 8 to 12 repetitions per session. This range effectively targets the thumb’s flexibility and strength, helping you regain mobility. Consistent practice is key, so try to incorporate this exercise into your daily daily routine or as a healthcare professional advises.
Pay attention to any pain or discomfort during these exercises. If you experience pain, reduce the intensity or consult a healthcare professional. It’s important not to push through pain, which could lead to further injury.
Thumb MP-Joint Flexion

Although a sprained thumb can be frustrating, incorporating the Thumb MP-Joint Flexion exercise into your routine can greatly aid recovery. This exercise focuses on improving the flexibility of your thumb, which is vital for effective rehabilitation.
To perform it, position your forearm and hand on a table with your thumb pointing upwards. Use your other hand to stabilize the base of the thumb, ensuring that only the intended joint is targeted.
Gently bend your thumb downward at the base joint, then straighten it to the starting position. This movement should be smooth and controlled, allowing the joint to regain its range of motion gradually. Aim for 8 to 12 repetitions, ensuring each is performed carefully to avoid strain.
Don’t forget to repeat the exercise with your opposite hand. This promotes balance and helps prevent asymmetry in thumb strength, which is essential for overall hand functionality.
Consistency is key—practice this exercise regularly for the best results. Doing so will enhance your thumb’s mobility and reduce pain, paving the way for a more complete recovery.
Finger-Thumb Opposition
Engaging in the Finger-Thumb Opposition exercise is a practical way to boost thumb dexterity and coordination. This exercise involves sequentially touching your thumb to each fingertip, keeping the other fingers straight.
It’s particularly beneficial for people recovering from thumb sprains, as it helps restore mobility and flexibility in the injured area. Regularly practicing this exercise enhances thumb functionality and strengthens the muscles involved in opposition.
To get the most out of this exercise, aim for 8 to 12 repetitions with each hand. This repetition range is ideal for improving fine motor skills and is which are vital for everyday tasks like writing or buttoning clothing.
Be certain to perform each movement with a relaxed wrist and proper form. This prevents further injury and guarantees the exercise targets the correct muscles.
Advanced Rehabilitation Techniques
After mastering basic exercises like Finger-Thumb Opposition, exploring advanced rehabilitation techniques to enhance thumb recovery is important. Strengthening exercises are essential. Progressive resistance exercises for thumb sprains, where you gradually increase the load on your thumb, can considerably enhance the healing of ligaments and boost overall stability.
To start, therapy putty exercises are excellent. Squeezing and flexion movements enhance grip strength and improve thumb dexterity, which is essential during rehabilitation.
Another key step is incorporating functional exercisess Activities such as grasping and buttoning integrate thumb functionality into daily tasks, ensuring that your thumb’s newfound strength is applicable in real-world scenarios. Your physical therapist can guide you through these exercises and ensure thatrethey match your recovery progress.
Regular assessments are critical. They allow for adjustments in your exercise regimen based on your recovery status, maximizing effectiveness while minimizing re-injury risk.
Remember to use proper thumb support through taping or bracing during this phase. It provides necessary stability and protection, especially during stress-inducing activities, allowing your thumb to gradually recover mobility.
Embrace these advanced techniques under professional guidance for peak rehabilitation results.
Preventing Future Injuries
Prevention is key when it comes to avoiding future thumb injuries. To effectively reduce the risk of re-injury, start by implementing thumb-strengthening exercises. These routines enhance stability and improve flexibility, making your thumb more resilient to sprains.
To maintain thumb health, simple exercises, such asresistance band stretches, can be easily incorporated into daily routines.
UIt is essential to wearprotective gear such as braces or splints during activities that stress the thumb These tools stabilize the thumb joint and greatly lower the chances of future sprains. This is especially important if you’re engaged in sports or activities with a high potential for thumb injuries.
BAlways perform warm-up stretches beforeparticipating in these activities, They help improve your thumb’s flexibility and prepare it for the stress ahead, decreasing the likelihood of injuries.
Don’t overlook the importance of consulting healthcare professionals. They can provide tailored rehabilitation strategies that address your needs and risk factors.
Frequently Asked Questions
Should I Exercise My Sprained Thumb?
You should incorporate rehabilitation strategies like gentle exercises for pain management and mobility improvement. Start only after initial rest. Monitor discomfort to prevent injury. Consult a healthcare professional to guarantee exercises fit your recovery needs.
How Do You Stop a Sprained Thumb From Hurting?
To spreventyour sprained thumb from hurting, apply pain relief methods , such asice for swelling ,and thumb immobilization techniques ,such as a spica splint. Understand recovery timeline expectations, and always consult a professional if pain persists.
Should You Try to Move a Sprained Thumb?
Move your sprained thumb gently to aid thumb mobility, but don’t rush it. Effective pain management and understanding your recovery timeline are vital. Prioritize injury prevention by consulting a professional to guarantee safe, gradual healing.
Is Compression Good for Sprained Thumb?
Compression benefits your sprained thumb by providing essential support and pain relief. It stabilizes the injury and can shorten your recovery timeline. Ensure it’s not too tight, and combine it with rest and ice for best results.
Conclusion
You’ll regain mobility and reduce pain by consistently practicing sprained thumb exercises. Focus on gentle movements like thumb IP-joint and MP-joint flexion, and don’t forget to incorporate finger-thumb opposition for better dexterity. Always monitor your pain level, adjusting the intensity to avoid excessive discomfort. Combining these exercises with rest and support, like taping or bracing, will enhance your recovery and help prevent future injuries. Stay committed, and your thumb will thank you!
