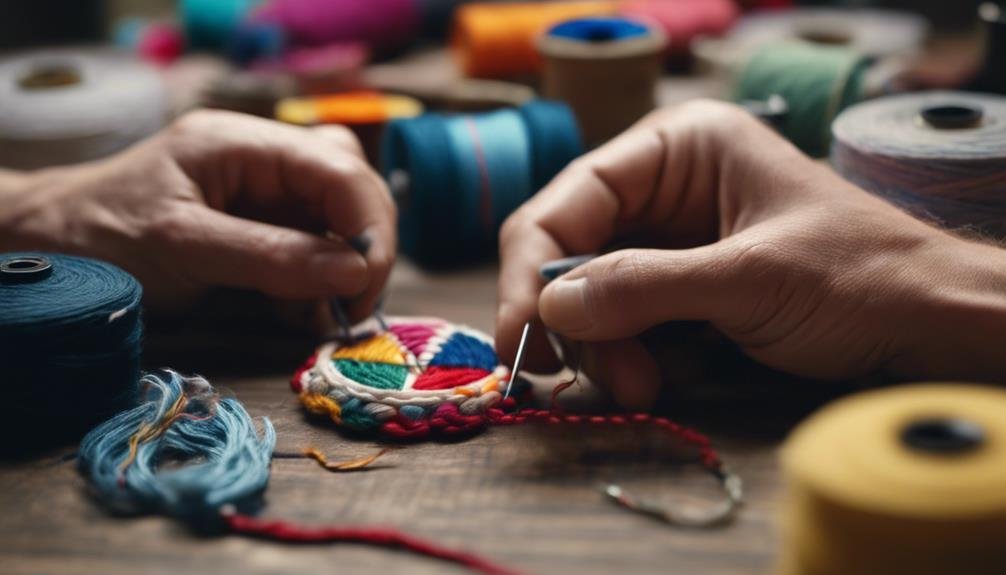
When you notice a tear in your favorite hacky sack, you might think it’s time for a new one but don’t toss it out yet. You can give your old hacky sack new life with tools like synthetic bias tape and denim thread. Start by carefully evaluating the extent of the damage and gathering the necessary materials. You’ll need precision and patience, as the next steps involve delicate sewing techniques that can be quite intricate. This process helps you repair a torn hacky sack and equips you with skills useful in other fabric repair scenarios. Curiously, the final steps involve a simple yet effective method to test the durability of your repair—something that might surprise you.
Key Takeaways
- Examine the hacky sack for tears, holes, and damaged seams to assess the extent of repair needed.
- Synthetic bias tape and denim thread are used for durable stitching and edge protection.
- Clean and dry the sack, then use sewing pins to secure the torn edges before sewing.
- Strengthen the repair by applying a thin layer of Freesole® adhesive and allowing it to cure.
- Test the repaired hacky sack for durability by kicking, squeezing, and dropping it to ensure it withstands play.
Assessing the Damage
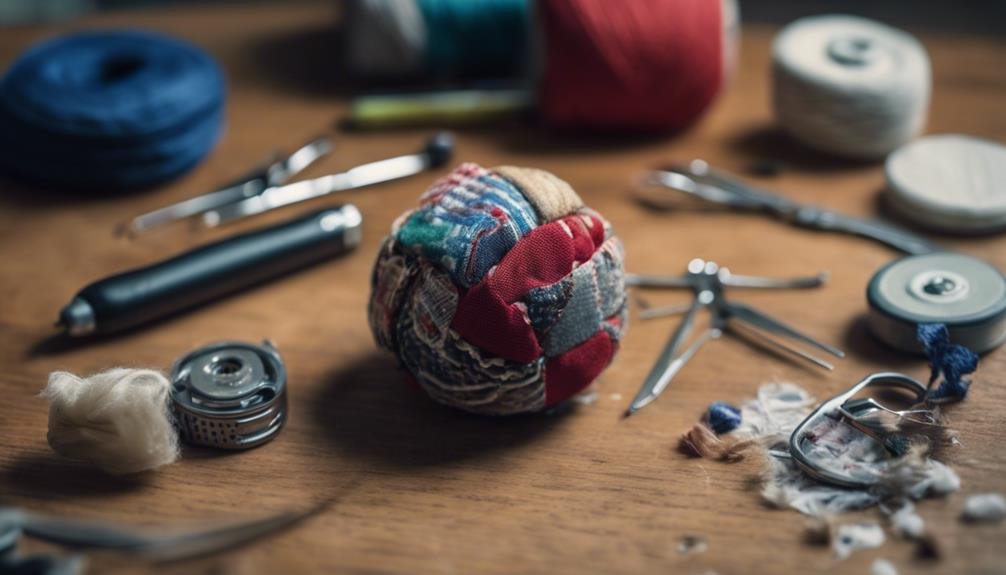
Start by checking the hacky sack for any visible tears, holes, or signs of leaking filling material. This initial step is vital to understanding the extent of damage and determining whether your beloved companion can be saved with a simple patch-up or if more intensive care is needed.
Examine the seams and stitching closely. If you notice any unraveling or loose threads, this could be why the filling is escaping. Remember, the force exerted by your shoes during play can stress these seams excessively, leading to damage over time.
Next, give the hacky sack a gentle squeeze. You’re feeling for any changes in texture or firmness, which might suggest a puncture in the gel-filled center. Such punctures can compromise the sack’s integrity, making it less responsive to your kicks.
Gathering Necessary Materials
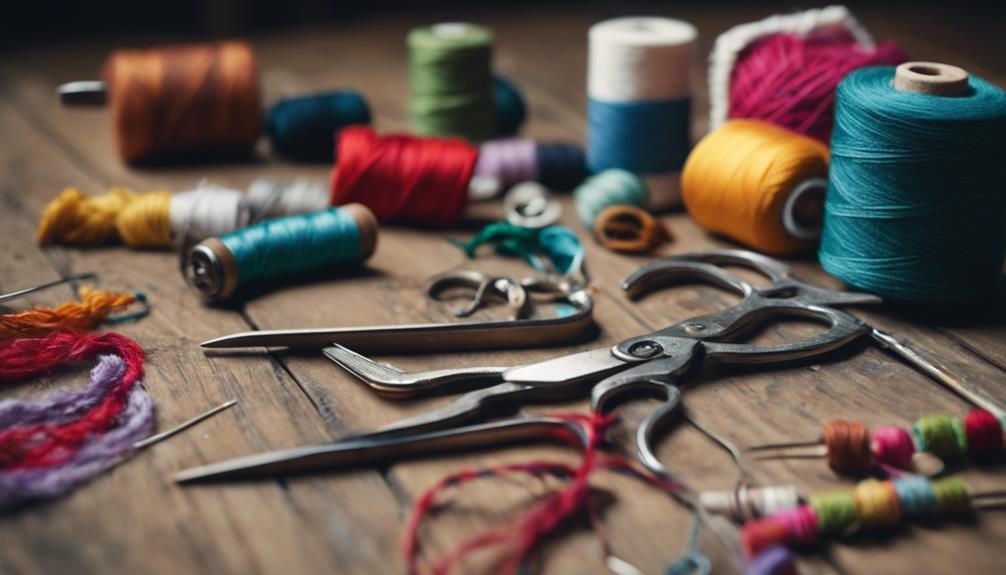
Before repairing a torn hacky sack, ensure you have all the necessary materials, including synthetic bias tape, denim thread, a utility knife, sewing pins, and bobby pins. These items are essential for a successful fix and guaranteeing your hacky sack is as good as new. Each component is important in restoration, from providing strength and flexibility to aiding precision.
Here’s why each item is indispensable:
- Synthetic Bias Tape: This provides a durable edge that won’t stretch or fray, which is critical for keeping your hacky sack intact during intense games.
- Denim Thread: Known for its strength, it ensures that the stitches won’t break easily, even when shoes kick around the hacky sack.
- Utility Knife: A sharp knife is necessary to clean frayed edges, making your repair work neater and more durable.
- Sewing Pins and Bobby Pins: These help hold the fabric tightly while you sew, especially in hard-to-reach areas around the torn section.
Gathering these materials beforehand will streamline your repair process, allowing you to focus on the craftsmanship rather than scrambling for supplies.
Preparing to Sew
Before you begin sewing, mark the tear on your hacky sack with a fabric marker to guarantee precise alignment. This step is important —it’s like tying your shoes before a run—as it ensures everything stays in place and prevents further damage during the repair.
Next, make sure your hacky sack is clean and dry. Just as you wouldn’t want to wear wet shoes for comfort and hygiene, starting with a clean, hacky sack ensures a better repair process.
Once it’s clean, use small sewing pins to secure the torn edges together. Think of these pins as the laces on your shoes, holding everything tight and aligned.
Now, choose a thread that’s as strong and durable as the soles of your best walking shoes, and make sure it matches the color of your hacky sack for a seamless look.
Stitching the Tear
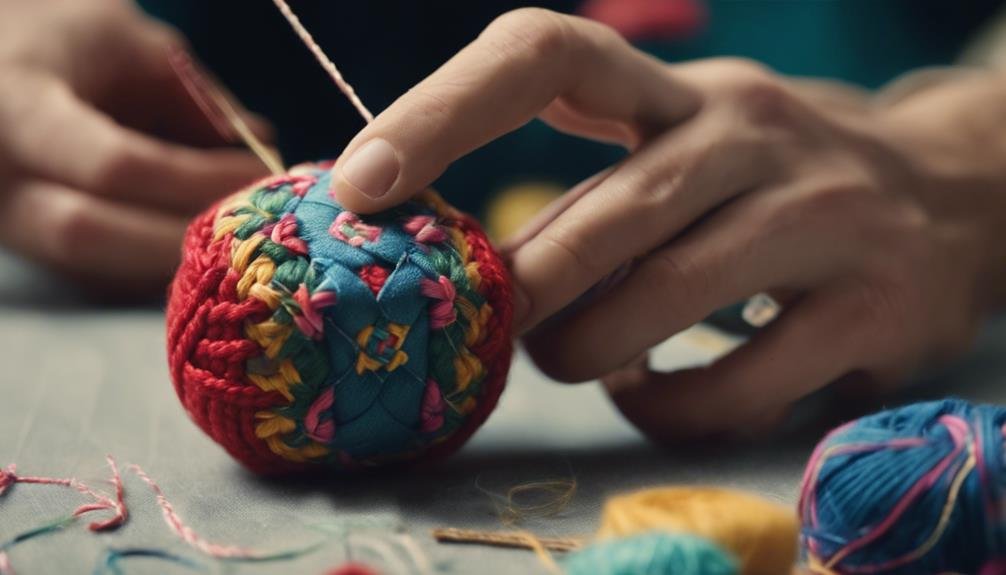
Begin by threading your needle with strong denim thread, then stitch from the edge of the tear towards the center to strengthen the hacky sack. As you sew, make sure the stitches are tight and even to guarantee the longevity of your repair. This careful stitching prevents the plastic pellets inside the hacky sack from escaping and maintains the sack’s integrity during play.
Here’s a step-by-step guide to make sure you get it right:
- Start at the Edge: Begin your stitching right at the edge of the tear. This helps evenly distribute the stress when the hacky sack is in use.
- Work Towards the Center: Gradually work towards the center of the tear. This method helps pull the fabric together and close the tear neatly.
- Secure with Knots: Tie a secure knot at the start and end of your stitching. This prevents the thread from unraveling.
- Apply Super Glue: Dab a little super glue on the knots you’ve made. This step isn’t about the structural repair but ensuring those knots stay in place over time.
Applying Reinforcements
To effectively extend the life of your hacky sack, apply specialized adhesives like Freesole® to reinforce the torn areas. Freesole® is commonly used for shoe repairs, so it’s tough enough to handle the rigorous action your hacky sack endures. Start by cleaning the surface around the tear. Ensure it’s free from dust and dirt, guaranteeing the adhesive bonds well.
Next, carefully apply a thin adhesive layer directly onto both edges of the torn area. Press the edges together and hold them firmly for a few minutes to allow the initial bond to form. Don’t rush this process; patience is key to a sturdy repair.
Allow the adhesive to cure for the time recommended on the product label, usually about 24 hours. During this curing period, keep the hacky sack at room temperature and away from direct sunlight. This ensures the adhesive sets correctly and forms a strong bond that mimics shoes’ resilience under constant stress.
Finishing Touches
Why not add a layer of clear nail polish to the repaired area for extra protection? This simple step shields the stitches and keeps the fabric from fraying further. It’s like applying a top coat to your shoes after polishing them—it enhances durability and provides a clean finish.
Once the polish dries, consider addressing any color discrepancies. Don’t let a faded spot dim the vibrant spirit of your hacky sack! Use a fabric marker to blend and restore the original hues seamlessly. It’s similar to touching up scuffs on your shoes; a little effort makes them look as good as new.
Why not place a decorative patch over the mend to add a personal twist? This isn’t just about covering up; it’s about expressing yourself, much like choosing unique laces for your shoes.
Here’s what you’ve got to do next:
- Apply a thin layer of clear nail polish over the repair.
- Touch up any faded areas with a matching fabric marker.
- Affix a creative patch to reflect your style.
- Sprinkle talcum powder to make certain the surface isn’t sticky.
Lastly, stash your hacky sack in a cool, dry spot—think of it as parking your shoes away from mud and moisture. This simple care keeps it ready for your next hacky sack game.
Testing for Durability
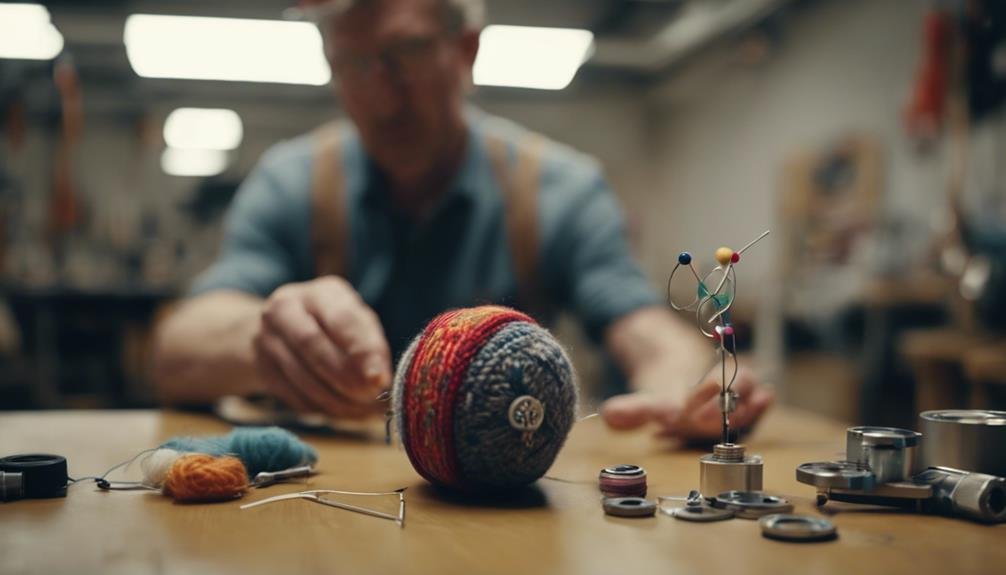
After repairing your hacky sack, it’s important to test its durability by kicking it against walls and floors to ensure the seams hold up under pressure. Wear your regular shoes and gently kick the hacky sack against different surfaces. This simulates the typical stress it will endure during actual play, allowing you to observe how well the repairs hold.
Next, you’ll want to juggle the hacky sack with your feet, gradually increasing the intensity. This tests not just the seams but also the material’s durability. Pay attention to how the hacky sack responds to your shoes’ impact. Does it maintain its shape? Are the seams staying intact?
Additionally, give the hacky sack a good squeeze in various spots. This helps check the integrity of the stitching and the cover material. It should feel firm and resilient under your grip, without any signs of giving way.
Lastly, drop the hacky sack from different heights to see how it handles impacts. This simulates accidental drops during a game. Watch for any unusual behavior, like stuffing bursting out or seams stretching. Each test is important for ensuring the longevity of your hacky sack’s repair.
Conclusion
You’ve skillfully repaired your torn hacky sack, ensuring it’s ready for more kicks and tricks. You’ve restored its durability by stitching the tear with strong materials and sealing it with reinforcements. Don’t forget to apply some clear nail polish for extra protection. Please give it a good test to ensure it holds up. With your careful work, it’s back in action, tougher than ever.
Enjoy the game without any worries about it coming apart again!
FAQs
How long does it take to repair a torn hacky sack?
Repair time can vary depending on the extent of the damage and your sewing skills. Typically, a thorough repair job takes 30 minutes to an hour.
Can I use regular thread instead of denim thread for repair?
While regular thread can work, denim thread offers superior strength, ensuring your repair withstands the rigors of play. It’s worth investing in for longer-lasting results.
Will the repaired hacky sack feel different during gameplay?
If repaired correctly, the hacky sack should maintain its original feel and responsiveness. Proper stitching and reinforcements ensure it remains durable and enjoyable to play with.
